
Documentation / Install on a single VM
Install on a single VM
Install SuperPlane with Docker Compose on one Linux virtual machine.

Install SuperPlane on one Linux virtual machine (VM) with Docker Compose. This guide covers a public installation with automatic HTTPS.
Complete the DNS and host requirements before you start.
Requirements
Section titled “Requirements”- A Linux VM with an
amd64orarm64architecture. - Administrator access to the VM.
- Docker Engine and Docker Compose v2.
- Bash, cURL, tar, and OpenSSL.
- Outbound HTTPS access to GitHub Releases, GitHub Container Registry (
ghcr.io), and Docker Hub. - A hostname that you control, such as
superplane.example.com. - Inbound TCP ports 80 and 443.
Reserve 2 vCPUs, 8 GB of memory, and 30 GB of disk for each concurrent runner. The default fleet keeps one runner ready and permits five concurrent runners.
At full capacity, the runners can use 10 vCPUs, 40 GB of memory, and 150 GB of disk. These values exclude the core SuperPlane services.
1. Configure DNS
Section titled “1. Configure DNS”Create an A record for IPv4 or an AAAA record for IPv6. Point the record to the VM’s public address.
If you publish both record types, point both records to the VM. Check the public records before installation:
dig +short superplane.example.com A @8.8.8.8dig +short superplane.example.com AAAA @8.8.8.8The commands must return the VM’s public addresses. A blank result is valid when you do not publish that record type.
If DNS returns multiple addresses, each address must reach the VM on ports 80 and 443.
2. Download the release
Section titled “2. Download the release”Connect to the VM. Download and extract the current SuperPlane release:
VERSION=v1.0.0curl -fsSL -o superplane-single-host.tar.gz \ "https://github.com/superplanehq/superplane/releases/download/${VERSION}/superplane-single-host.tar.gz"tar -xzf superplane-single-host.tar.gzcd superplaneThe release uses Fleet Manager v0.1.6 and Runner v0.2.1. Do not change these image versions.
3. Install SuperPlane
Section titled “3. Install SuperPlane”Run the installer from the extracted superplane directory:
# Create the configuration and secrets.# Pull the required images and start SuperPlane../install.shEnter the hostname when the installer asks for it. Do not include https://.
The installer also requests an HTTPS certificate for the hostname.
The installer starts Fleet Manager and the local runner fleet. Fleet Manager uses the Docker socket to start runner containers.
To change runner capacity, set these variables when you run the installer:
SUPERPLANE_RUNNER_MAX_CAPACITY=8 \SUPERPLANE_RUNNER_WARM_CAPACITY=2 \./install.shThe maximum capacity must be a positive integer. The warm capacity must be between zero and the maximum capacity.
4. Verify the installation
Section titled “4. Verify the installation”Check the services and the health endpoint:
docker compose pscurl -fsS "https://superplane.example.com/health"Each service must show running or healthy. The health endpoint must return HTTP 200.
5. Create the owner account
Section titled “5. Create the owner account”Open https://superplane.example.com/setup.
-
On Create the owner account, enter the name, email, and password. The password needs 8 or more characters, one number, and one capital letter. Select Continue.
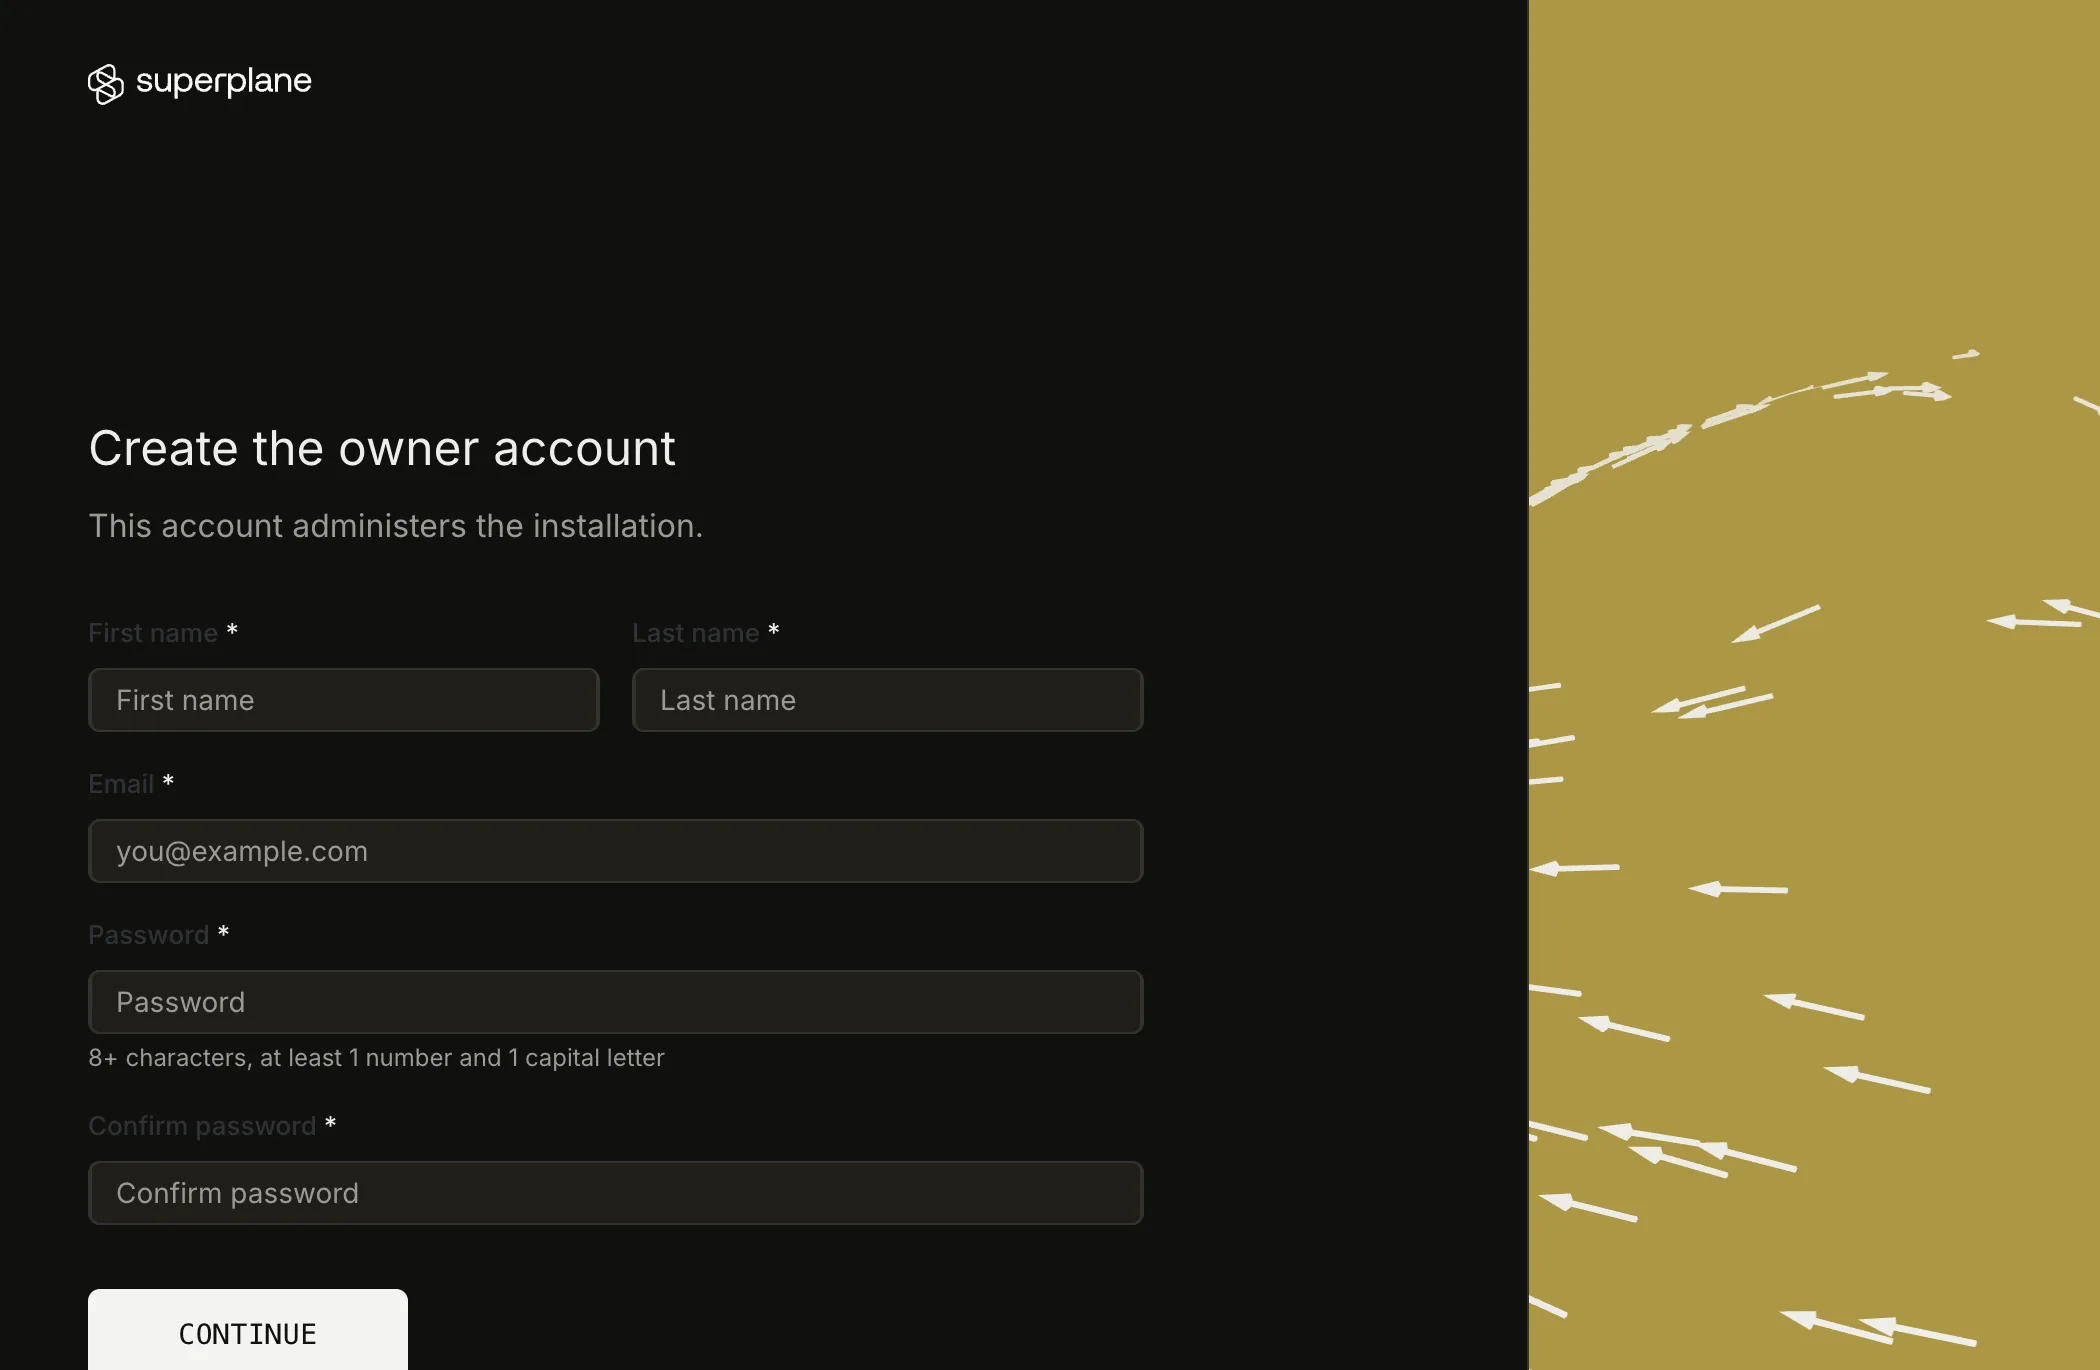
Create the owner account. -
On Choose an edition, select Continue with Community. Select Enterprise only when you have a license file or a license key.
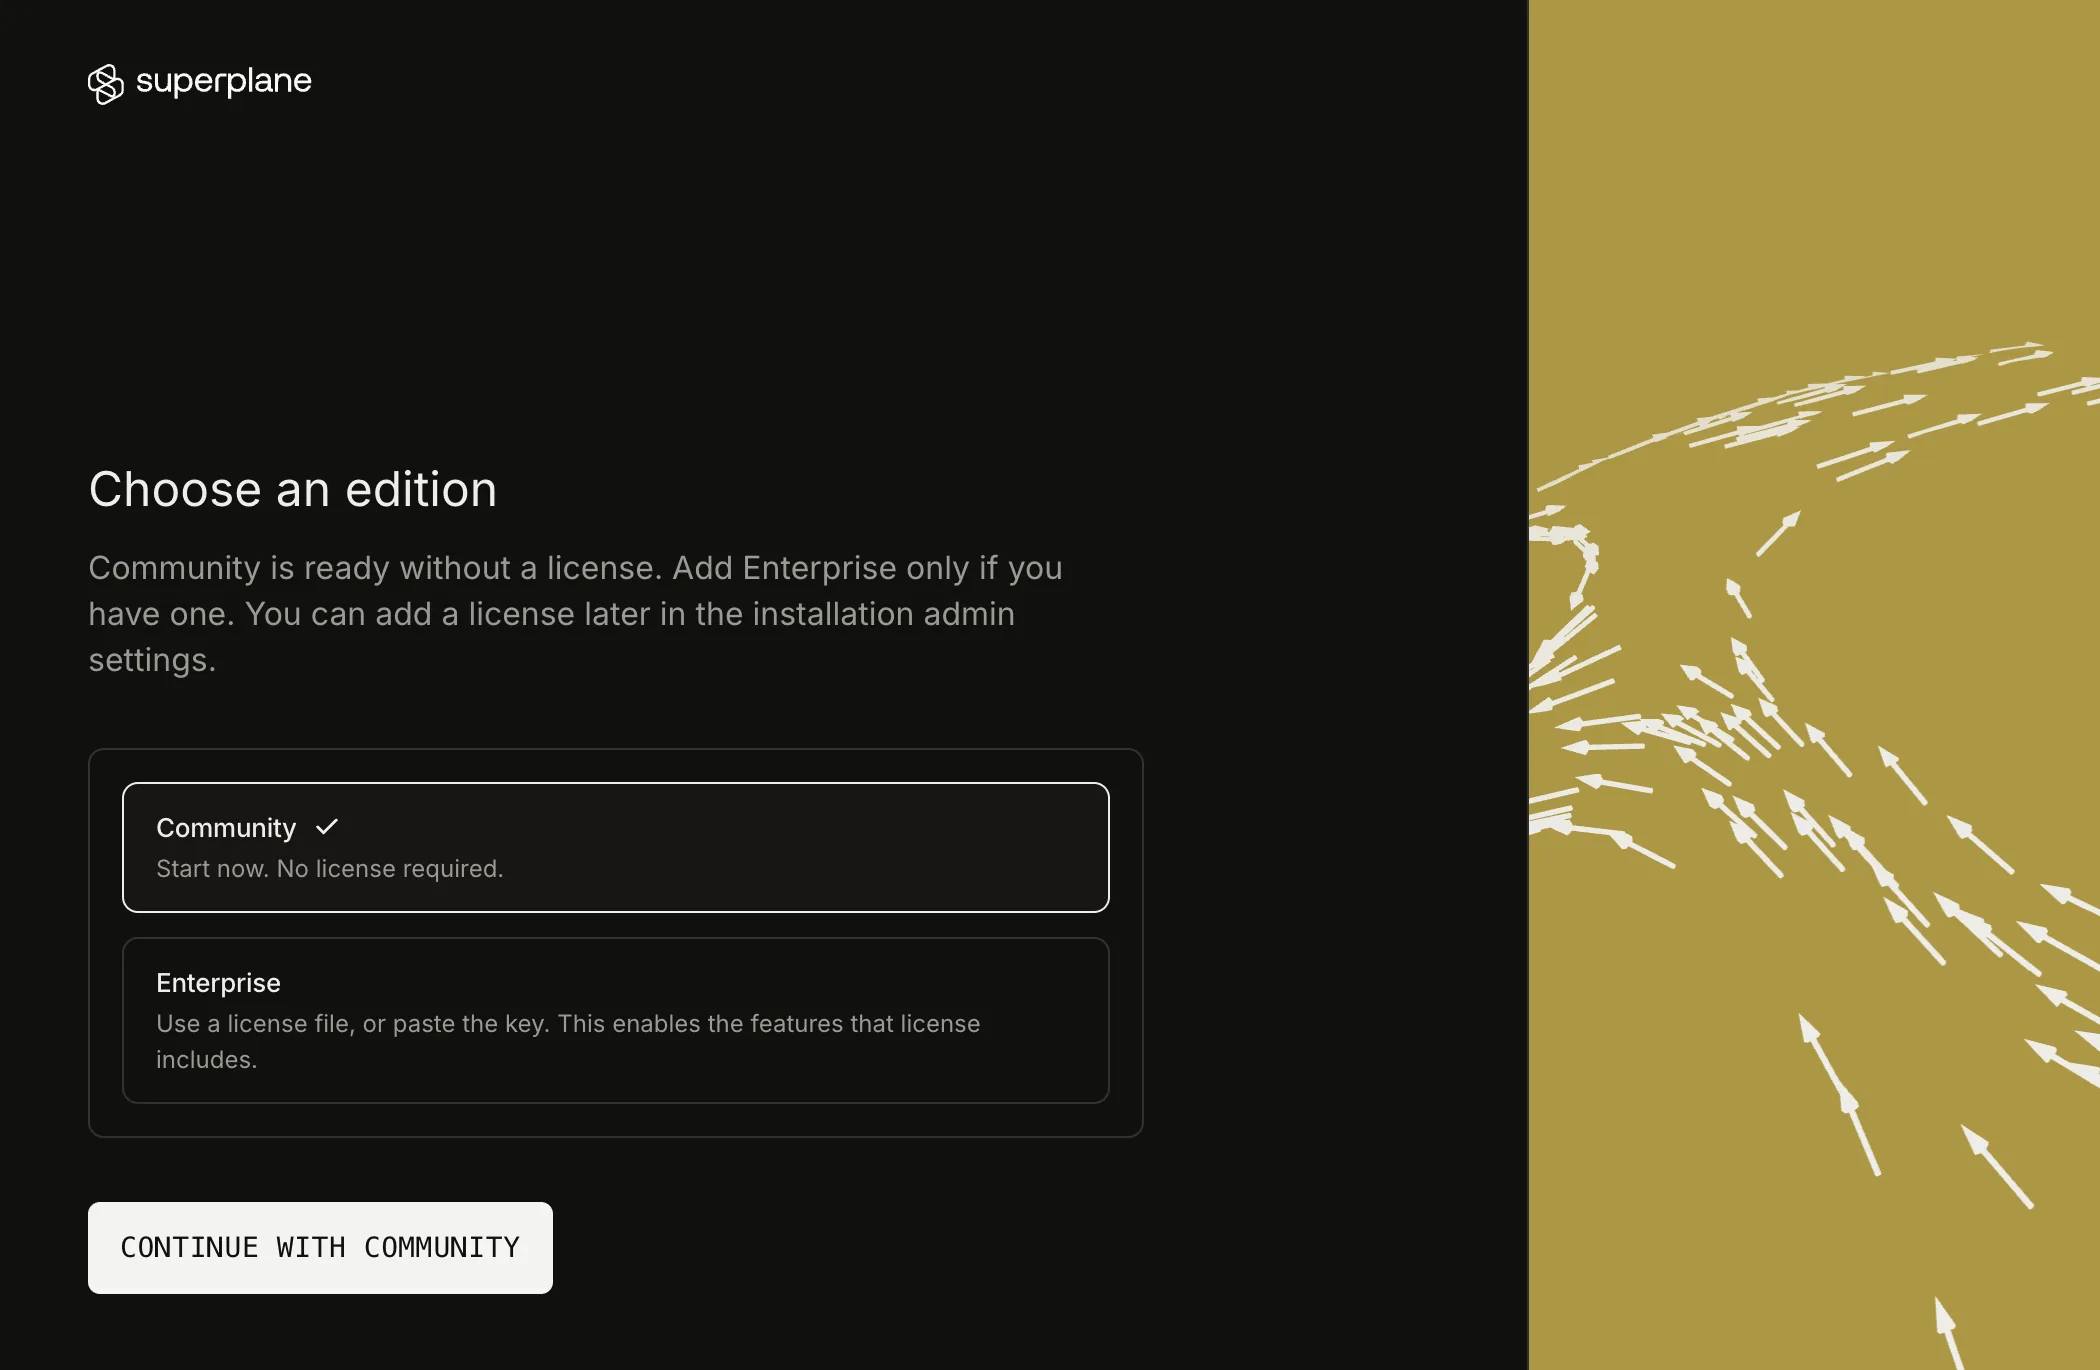
-
On Send email from this installation, select Skip for now. You can add SMTP later in the installation settings.
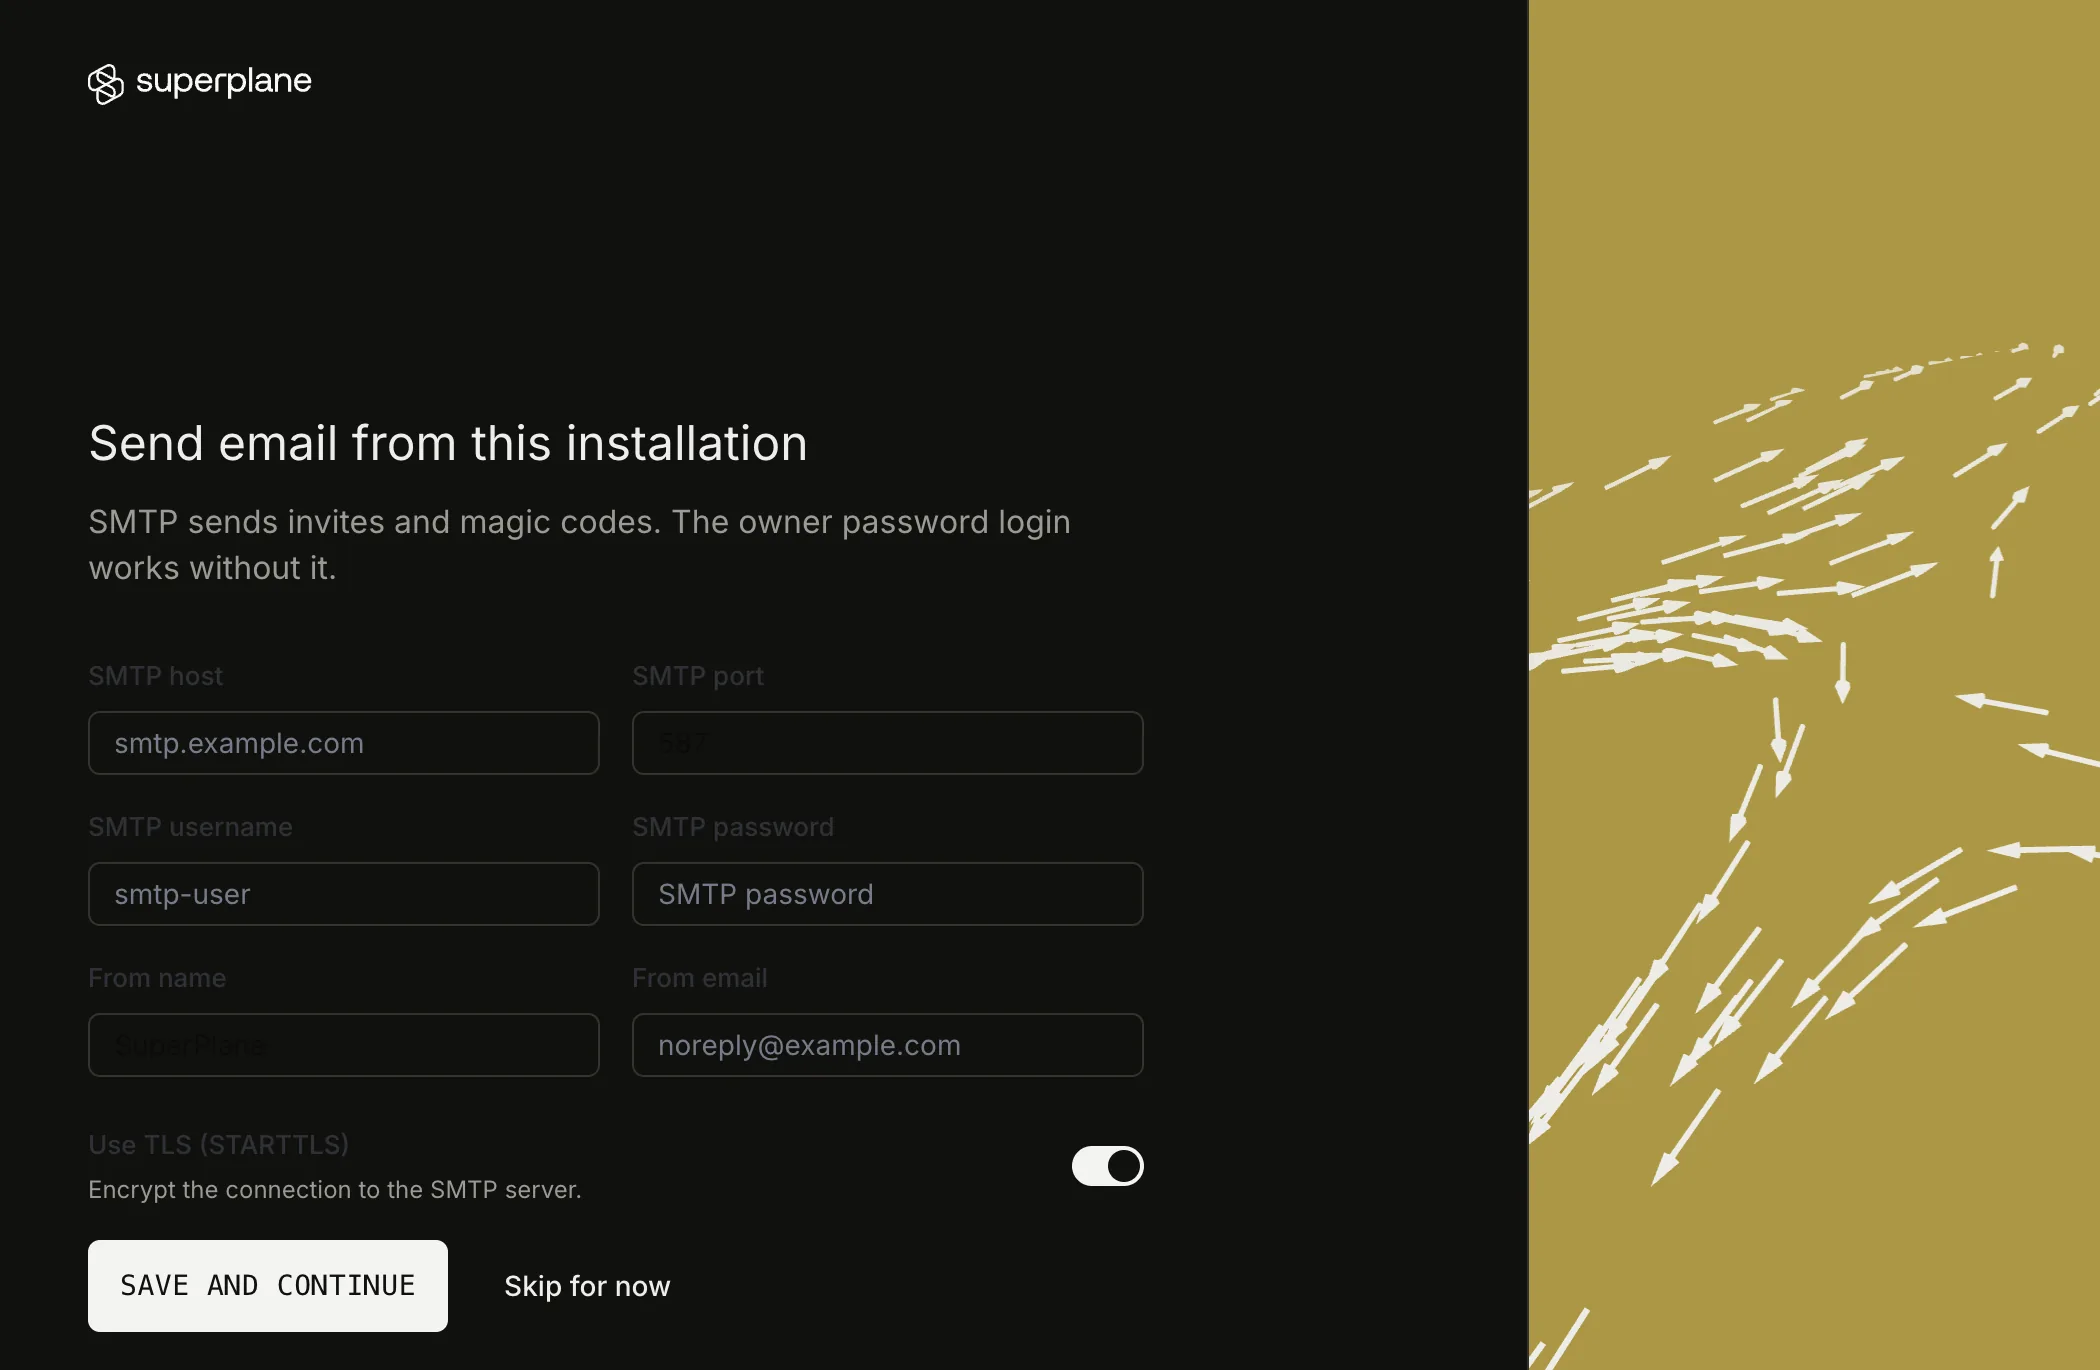
6. Next steps
Section titled “6. Next steps”Use the quickstart to connect a repository and create your first task.
If the installation fails, use Troubleshooting. Use Upgrade and uninstall to manage the installation.